Drying and curing your bud is arguably the most important step to creating a final product you’re proud of. After you harvest your plant it slowly begins to decompose. It’s important to follow the steps described below quickly to prevent your buds from going bad.
Terpenes are what give your buds their signature flavour and smell, but they are volatile and sensitive to the environment. Temperature and humidity need to stay under control to prevent the loss of terpenes.
Just like a good BBQ you want to stick to the rule “slow and low”.
Harvesting Cannabis
You will want to harvest your female plants when THC production is at its peak. Not all buds will mature at the same time, buds higher on the plant are usually ready before buds on lower branches.
There are several ways to determine the potency of the flowers.
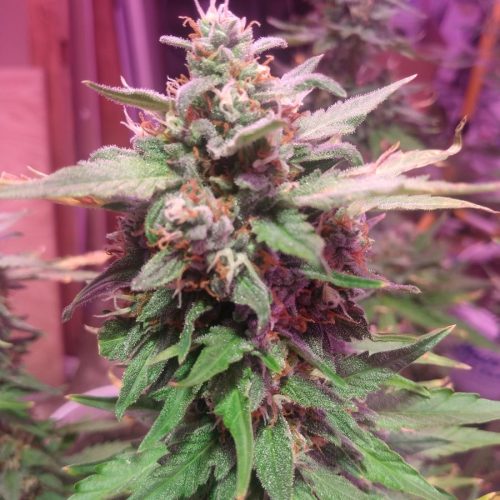
The most basic method is inspecting them with the naked eye. The pistils on the buds of your plant look like small hairs. These pistils will turn from white to red as the plant matures. When 80% of the hairs are red, that’s a good indicator your plant is ready to be harvested.
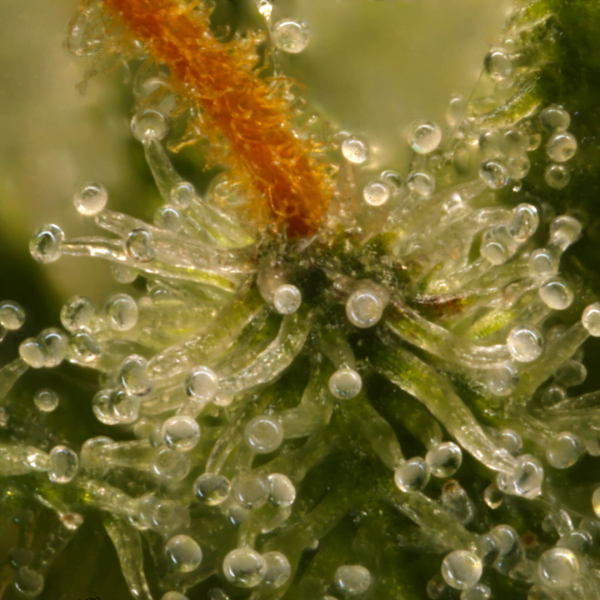
A more accurate way to determine potency is by using an inexpensive microscope. Your flowers will be covered with what are called trichomes, small resin glands that look like a stalk with a ball on top. The ball on top will go from clear, to cloudy (THC production has peaked), to brownish red. The optimum harvest time is when the majority of trichomes are cloudy.
When the bud has reached the appropriate point of maturity it should be clipped off and allowed to dry. You can harvest a plant in sections if there are buds that need a little more time to mature.
Trimming
Trimming is the process of removing as much leaf matter as possible from the buds. The point of trimming is to have buds that look pretty and smoke well. Cannabis leaves are a bit harsh to smoke and not as potent as buds.
Medium to large sized leaves are called fan leaves and can be easily removed right after harvest.
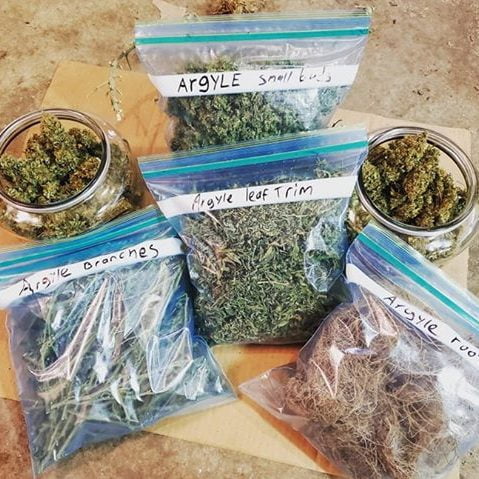
Smaller leaves are often called “sugar leaves” because of being covered in white crystals. These leaves can be removed before drying (wet trim) or after drying (dry trim). Save your sugar leaf trimming to make butter or tinctures. Learn more about trimming buds here. Trimming the sugar leaves isn’t as important if you intend to use your harvest for edibles or a resin press.
Drying
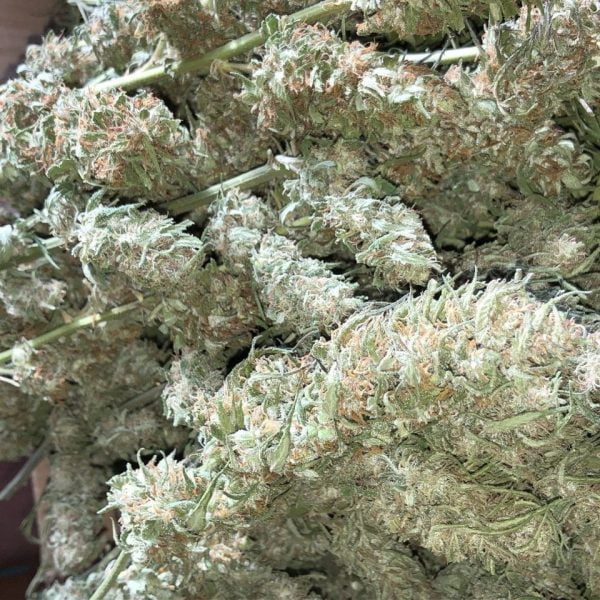
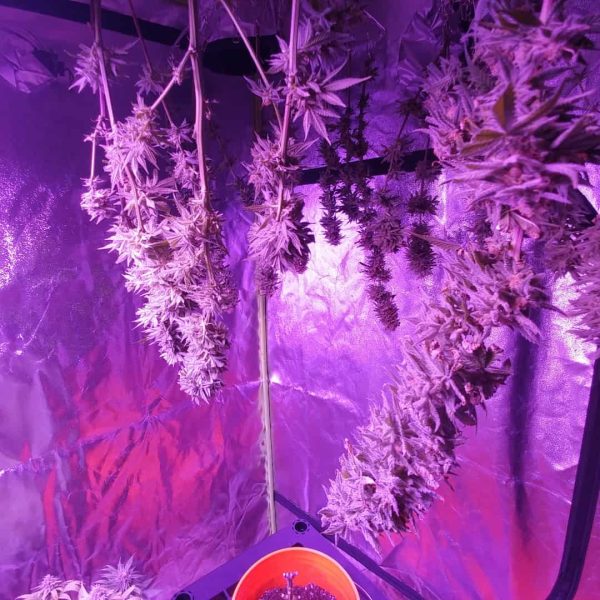
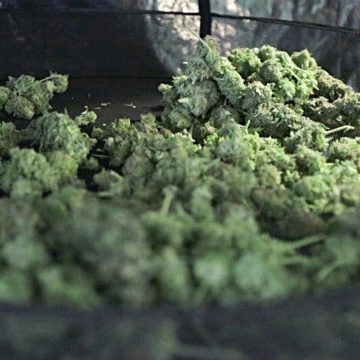
You have a couple of options here after removing the fan leaves. You could hang the entire plant to dry, you can hang them to dry by the individual branches, or you can remove the buds and let them dry on a drying rack.
The space you choose to dry the buds in is also important.
You will want an enclosed space that is cool and dark; a closet or grow tent works very well. Drying your buds slowly is the key to a great final product. Chlorophyll in the plant needs time to break down. Drying your plants too quickly will prevent the chlorophyll from breaking down completely and leave you with buds that smell like grass and a harsh smoking experience. Don’t try to speed things up by using a dehumidifier or heater. A small fan can be used to help circulate the air.
The optimum environment for drying cannabis is 45-55% RH (Relative Humidity) and 15-21°C (60-70°F)
Let your buds slowly dry over 5 to 7 days usually. Once the stems snap instead of bend, then your buds are ready for curing.
Curing Cannabis
Once your plants are dry there is less of a risk of mold growth but our job is not done yet.
Curing is an important process that allows more time for chlorophyll to break down slowly and certain cannabinoids to form. Your weed is smokable at this point, but you might find it a little harsh and tasting a bit like grass. As we cure your weed is going to start getting a lot better.
Place the now dry buds into an airtight container.
Trim them first if you opted for the dry trim. Over time the buds will give off CO2 and moisture that will have to be removed. This is done by “burping” your containers daily. All you need to do is remove the lid to allow gases to escape.
You will want to keep an eye on the relative humidity of your bud and curing vessel. 55% to 65% is a good range to aim for. You will likely get slightly higher levels at the start as the buds continue to dry out over time. Keep the ambient temperature below 20C (68F) to prevent the evaporation of terpenes.
Curing is pretty easy with the right equipment.
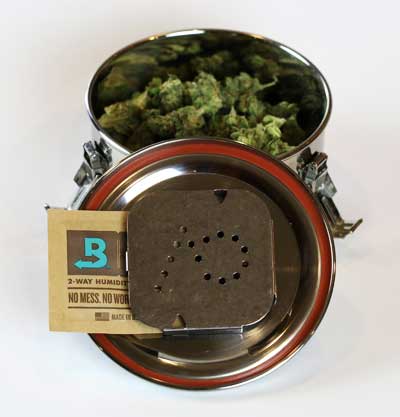
An airtight light-proof container like CVault are great for curing and storage. They can also hold a Boveda two-way humidity pack which can eliminate the need to burp them at all.
As time goes by the odour of your bud will change.
Chlorophyll smells a bit like grass cuttings and if your bud smells like that means the chlorophyll hasn’t broken down yet. After 3 or 4 weeks you will notice the smell of marijuana coming back strong. After curing for a month or more your weed should be tasting its best.
Storing Cannabis
Cannabis can retain 99% of its potency for up to a year when stored in the right conditions. Freezing cured buds is not necessary and can actually lower potency as brittle trichomes fall off.
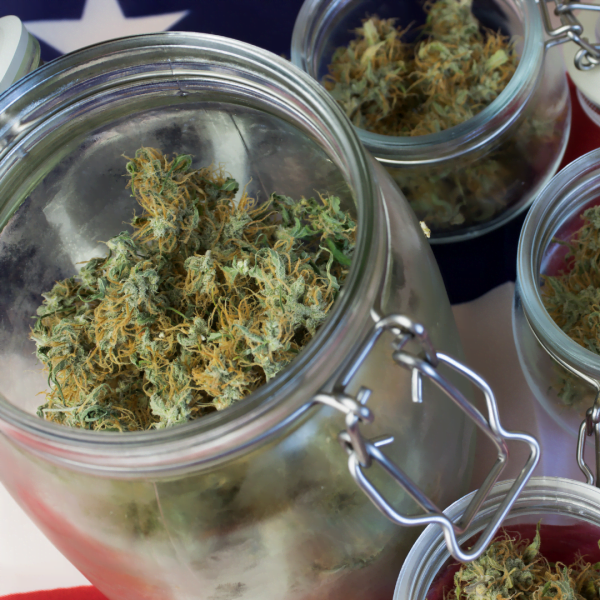
The most common method of storing cannabis is in canning jars.
They are a little “old school” and Cvault containers are a great upgrade. Glass is see through and light can degrade your weed over time, glass can shatter and ruin your weed, the glass containers are tall but not wide which means the buds at the bottom will be crushed by the buds above.
Store your cannabis at a relative humidity of around 60%.
Boveda packs do a great job with this and can keep your weed at a constant 62% humidity. Boveda packs should be replaced when they get hard or after 4 months. A bigger Boveda pack in a small container will last much longer.
Store your weed in a cool place and try and keep the temperature below 20C (68F) to prevent terpenes from evaporating.
There you have it.
The Reefertilizer guide to harvesting, trimming, drying, and curing your buds. To make things a little easier for new growers we have bundled all the gear you need to do this stuff at home. Our harvest kits include a drying rack, trimming scissors, a clip-on microscope, storage container, and humidity controller packs.
Have any questions? Leave them in the comments below!
If you want to learn even more about growing good cannabis, we offer a free 40+ page guide full of images.
Now available on Amazon.
Sign up for our newsletter and download the digital copy today!
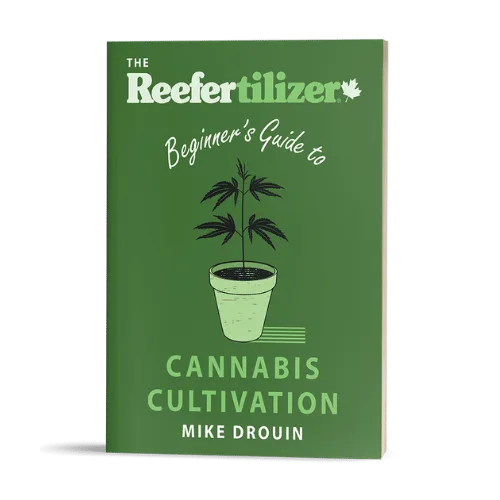
This guide will answer many questions about growing cannabis, like the following...
Selecting Seeds
Identify and Correct Problems
Maximize Yield
Much More...
Get a Chance to INSTANTLY WIN a Reefertilizer Nutrient Kit When You Sign Up.
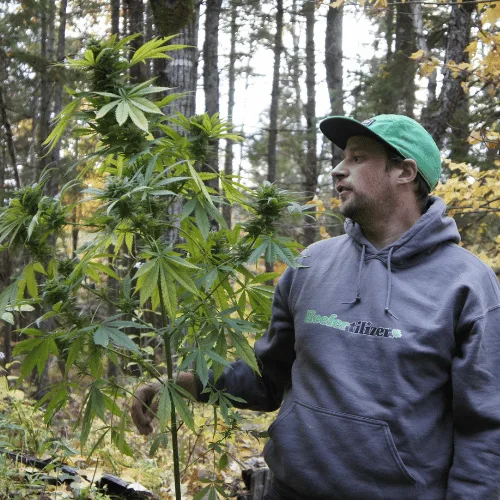
Mike Drouin is the co-founder of Reefertilizer. He’s an experienced craft cannabis grower and a writer of many articles regarding the process. Mike lives on Vancouver Island and enjoys cycling and camping and will sometimes combine the two.

Great advice but for curing is the temperature 20C or 57F because 20C is 68F and 57F is 14C. I believe you meant 20C(68F) but am not sure.
68F is correct.
Thanks for pointing that out. I will make an edit.