

Cannabis Clues
How to Prepare For Cannabis Harvest
Article Summary:
To prepare for cannabis harvest, it’s essential to have the right tools like sharp trimming scissors, gloves, and drying racks to ensure efficient and clean harvesting. Correctly timing your harvest is crucial as the color of trichomes indicates the optimal moment for maximum potency and flavor. Post-harvest, proper drying and curing are key steps that enhance the buds’ quality, involving controlled environments and periodic airing out of curing containers to develop better flavor and aroma.
Learn to Grow Better Weed
Download our free guide to growing amazing cannabis at home.
Click Here For More Info
Gathering Your Tools: What You’ll Need For Harvest
Preparing for cannabis harvest is really easy when you have everything you need to hit the ground running. Here’s a simple list of must-have tools to ensure you gather those buds with precision and care:
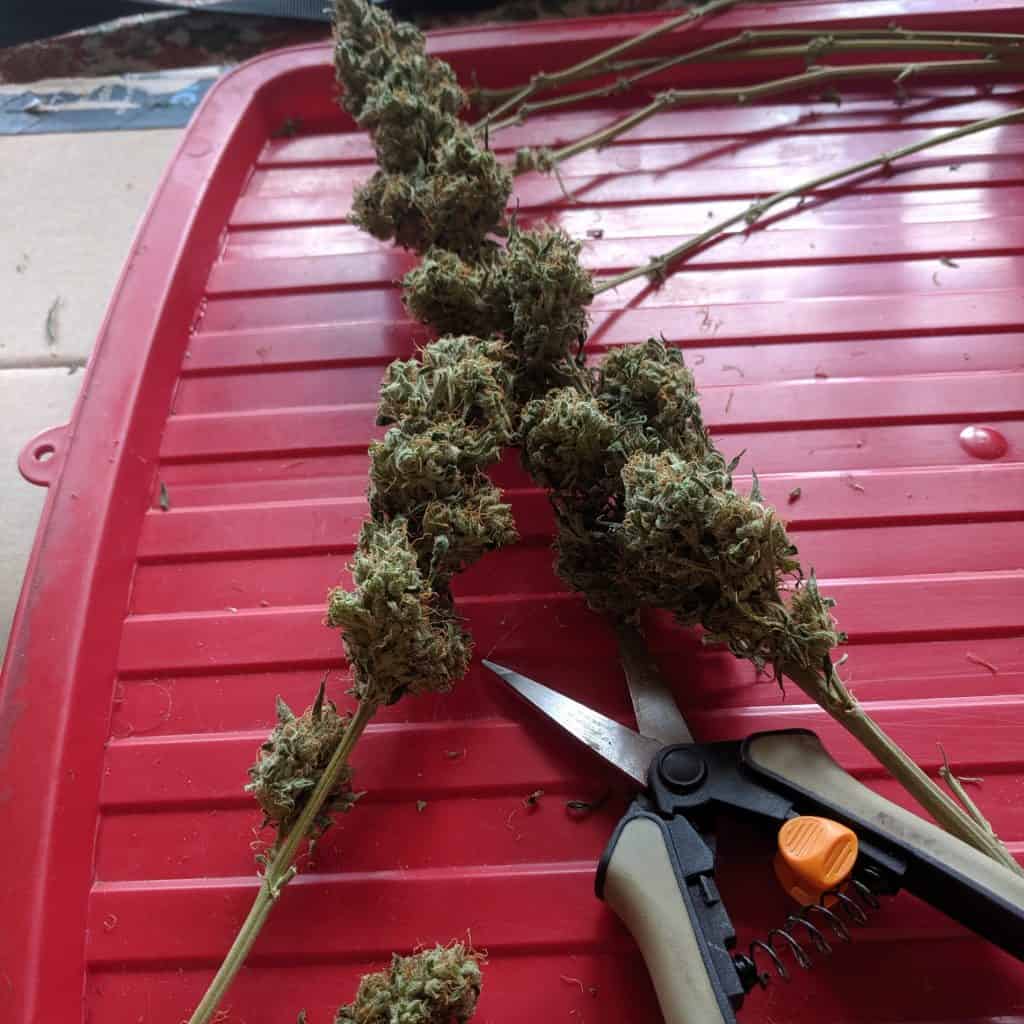
Trimming Scissors: A sharp pair of trimming scissors is crucial. They allow you to cut your buds from the plant neatly and trim away excess leaves easily. Having a soaked sponge or small glass of isopropyl alcohol can help clean the gunk from your scissors. Trust me, there will be gunk. Getting a second or third pair of scissors might be helpful when a gunky pair is soaking.
Gloves: Protect your hands and keep the sticky resin off your fingers. Gloves also help in keeping your product sanitary. Nitrile gloves are a good choice especially if you’re allergic to latex.
Harvesting Bins or Trays: You’ll need something to collect your buds in. Bins or trays should be clean and dry to avoid any contamination.
Magnifying Glass or Loupe: To determine the perfect time to harvest based on trichome color, a magnifying glass is invaluable. Checking trichome color will inform you when your buds are at peak potency.
Drying Racks: Proper air circulation is critical during the drying process. Drying racks or nets provide an even drying environment to prevent mold and speed up curing.
Labels and Markers: Labeling your harvest can help you keep track of strains and harvest dates, which is especially useful if you’re handling multiple plants.
Curing Containers: After drying, curing your cannabis properly enhances its flavor and potency. A curing container can be any airtight container. Glass mason jars are a popular choice, choose a wide mouth style.. A stainless steel tub or even a storage bin will work.
Humidity Packs: These small packages can be placed in your storage containers. What they do is keep the humidity inside the container at the perfect level to keep buds tasting great and burning properly.
With these tools ready, you’ll be set to handle everything harvest time throws your way. By using the right tools, you can ensure that your hard work over the growing season pays off with high-quality, potent cannabis.

WeedBOT is your AI assistant for cannabis cultivation. Available 24/7, it provides answers and personalized guidance tailored to your growing needs.
Whether you're a beginner or an experienced grower, WeedBOT helps troubleshoot issues and offers practical tips to improve your gardening experience.
Timing Is Everything: When to Harvest Your Cannabis
Knowing when to harvest your cannabis can greatly affect the quality, potency, and flavor of your buds. Harvesting at the right moment ensures maximum terpene preservation, which equates to a more aromatic and flavorful experience.
Your primary indicator for harvesting is the color of the trichomes, which are the tiny, crystal-like structures on the surface of the buds. Use a magnifying glass or loupe to take a close look at these trichomes. Clear trichomes indicate it’s too early, but when most trichomes turn milky white with minimal amber ones, it’s the perfect time to harvest. This color change signifies peak THC levels and optimal terpene profiles.
Step-by-Step Guide to Harvesting Cannabis
Harvesting cannabis correctly is key to preserving the terpenes that enhance both flavor and aroma. Here is a straightforward guide to ensure you harvest your cannabis plants optimally.
Step 1: Check Your Trichomes
Assess the trichomes’ color with a magnifying glass—the tiny crystals on the buds should mostly be milky white with some amber. This indicates peak THC level and robust terpene content.
Step 2: Prepare Your Tools
Gather sharp trimming scissors, gloves, and containers. Make sure the area you plan on drying your plant is clean. A closet is a good choice but you could dry inside a grow tent as well.
Step 3: Cut Down the Plant
If small enough, cut the whole plant at the base. For larger plants, cut branches individually. You can harvest a plant in batches if you find that some buds are mature while others need a bit more time to ripen.
Step 4: Remove Large Leaves
Remove large leaves and trim excess foliage around the buds. This will prevent moisture from being trapped in the bud and helps the plant to dry evenly.
This is also a good time to trim the small leaves on the buds. Doing this before the buds are dry is called a wet trim. You could also do this after the buds are dry.
Step 5: Manicure Buds (Wet Trim or Dry Trim)
If you want your buds looking like what you find a dispensary you may want to manicure them by removing the tiny leaves on the buds. This will give them a more uniformed look. You have two options though; trim your buds before they’re dry (wet trim) or do after they’re dry (dry trim). Each way has pros and cons but some say dry trim is easier.
Regardless of which method you choose, keep the cutting. These tiny leaves still contain THC and other cannabinoids and can be used to make infusions like butter and tinctures.
Step 6: Dry the Buds
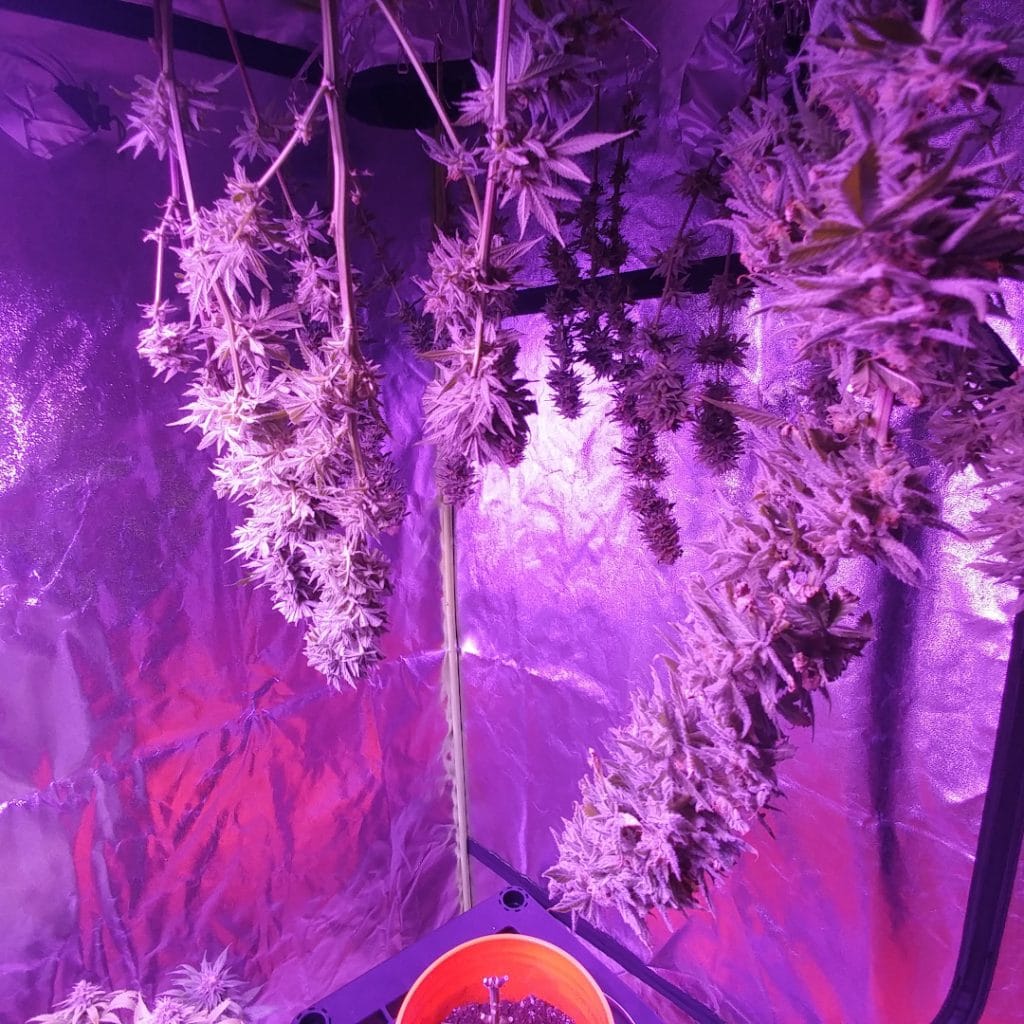
Hang branches upside down in a controlled environment—cool, dark, and with minimal humidity. If you have buds off the branches a drying rack will be helpful. Proper drying is crucial; too fast can diminish quality and leave you with grassy smelling buds.
The optimum environment for drying cannabis is 45-55% RH (Relative Humidity) and 15-21°C (60-70°F). Your buds are dry enough when the stems snap instead of bend.
Step 7: Cure the Buds
Once dry, place the buds in a curing container to further develop flavors and aromas. Curing is an important step that can significantly enhance your final product. This process helps chlorophyl break down. Chlorophyll smells a bit like grass cuttings and if your bud smells like that it means the chlorophyll hasn’t broken down yet. After 3 or 4 weeks of curing you will notice the smell of marijuana coming back strong. After curing for a month or more your weed should be tasting its best.
For more detailed information on drying and curing please read our guide.
Win Free Cannabis Nutrients!
1 In 100 Chance To Win
Enter for a chance to win a complete Reefertilizer Nutrient Kit, designed to give your plants everything they need for healthy growth.
Post-Harvest: What to Do After You’ve Collected Your Buds
Congratulations! You’ve harvested your cannabis plants, but there’s still important work to do to ensure your buds develop the best flavor and aroma. Let’s walk through the essential steps to handle your buds post-harvest to maximize their terpene profile and overall quality.
Once your cannabis is properly dried, which typically takes about a week, it’s time to cure. Place your dried buds into curing containers. Curing is a delicate process that involves storing cannabis in airtight containers and opening them periodically to let out moisture and let in fresh air. Organic elements need time to break down and off gas, that’s what curing helps accomplish.
The process is simple. For the first week or two after harvest, open the containers twice a day to let gasses escape. Just open the jar or container and let fresh air in for 5 minutes. This process is often called “burping”. After two weeks you can reduce burping to once a day. When you notice the smell is improving you can stop burping the jars. The whole curing process takes at least a month.
The Most Important Question: When Can I Smoke My Buds?
Technically you can smoke your buds as soon as they are dry but they won’t be at their best in regards to flavor. It’s a good way to test potency and enjoy your harvest, but they will taste a lot better after a short curing period. This can be a fun experiment to try out your bud after 1 week of curing and compare it to longer curing periods.

Common Mistakes to Avoid During Harvest
Harvesting your cannabis at the right time is critical to ensure maximum potency and flavor, particularly when it comes to preserving terpenes, which are key to your plant’s aroma and taste.
Here are some common mistakes to steer clear of:
- Incorrect Timing: Harvesting too early or too late can severely impact the quality of your buds. Use a magnifying glass to check the color of the trichomes. They should be milky white with some amber. If most trichomes are clear, the plant isn’t ready.
- Rough Handling: During harvest, drying, and curing, handle your buds gently. Rough handling can detach trichomes from your buds, reducing the potency and quality of the final product.
- Poor Environment: Drying your buds in an environment that is too hot, too cold, or not adequately ventilated can lead to issues like mold growth or overly dried buds. Aim for a stable environment with good air circulation, low humidity, and dark conditions.
- Skipping the Cure: Curing is essential for developing the optimal flavor and potency of your cannabis. Store your buds in Curing Containers and regularly check for mold or excess moisture.
And there you have it! Your step by step guide to harvesting your cannabis plants. Have a question? Need some clarification? We are here to help. Just contact us and we will be happy to answer your cannabis conundrums.
Frequently Asked Questions About Preparing For Harvesting Cannabis
How do I know when my cannabis is ready to harvest?
The best way to determine harvest time is by examining the trichomes (tiny crystal-like structures on buds) with a magnifying glass. When most trichomes turn milky white with some amber, your cannabis is at peak potency and ready for harvest.
What’s the difference between wet trimming and dry trimming?
Wet trimming means removing leaves immediately after harvest while the plant is still fresh, which can be easier but messier. Dry trimming means waiting until after drying, which some find produces better flavor but requires more patience.
How long does the drying process typically take?
Proper drying usually takes about 7-10 days in a controlled environment (45-55% humidity, 60-70°F). Buds are ready for curing when smaller stems snap instead of bend.
Why is curing cannabis important?
Curing enhances flavor, aroma, and smoothness by allowing chlorophyll to break down and terpenes to develop. Proper curing can make a significant difference in your final product’s quality.
Can I speed up the drying process?
While you can dry cannabis faster, we don’t recommend it. Quick drying (using heat or excessive airflow) can degrade terpenes and result in harsh-tasting buds with less complex aromas.
What’s the best container for curing cannabis?
Glass mason jars with airtight lids are ideal for curing. They allow you to monitor buds and “burp” them regularly to release moisture while maintaining proper humidity levels.
If you want to learn even more about growing good cannabis, we offer a free 40+ page guide full of images.
Now available on Amazon.
Sign up for our newsletter and download the digital copy today!
This guide will answer many questions about growing cannabis, like the following...
✔ Selecting Seeds
✔ Identify and Correct Problems
✔ Maximize Yield
✔ Much More...
Get a Chance to INSTANTLY WIN a Reefertilizer Nutrient Kit When You Sign Up.
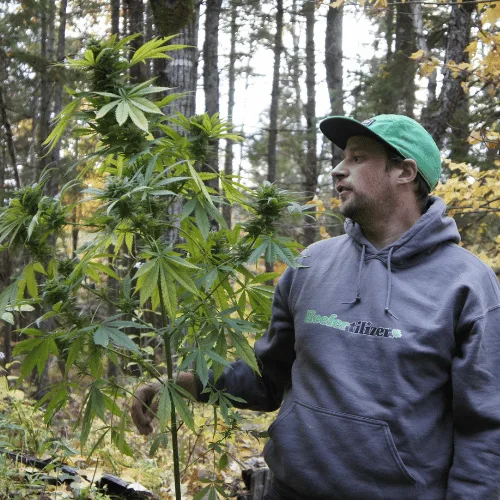
Mike Drouin is the co-founder of Reefertilizer. He’s an experienced craft cannabis grower and a writer of many articles regarding the process. Mike lives on Vancouver Island and enjoys cycling and camping and will sometimes combine the two.
