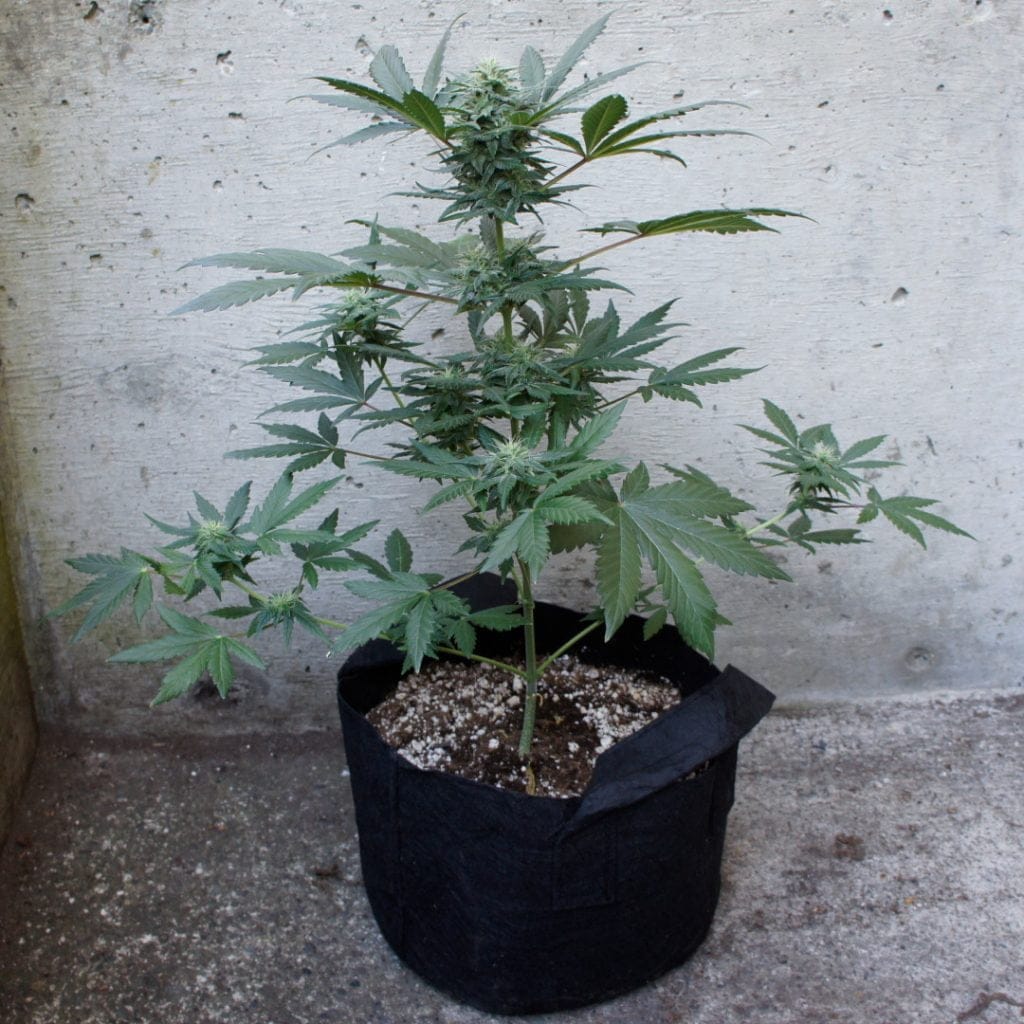
I love autoflowers, they’re just so easy to grow!
For the best results you want to make sure autoflowers are growing as efficiently as possible. Even the slightest bit of stress or nutrient deficiency can hinder growth and decrease your final harvest. Once you start growing autos, there’s no looking back!
In this guide, we’ll explore the best practices for using Reefertilizer nutrients with autoflowering cannabis.
To Transplant or Not
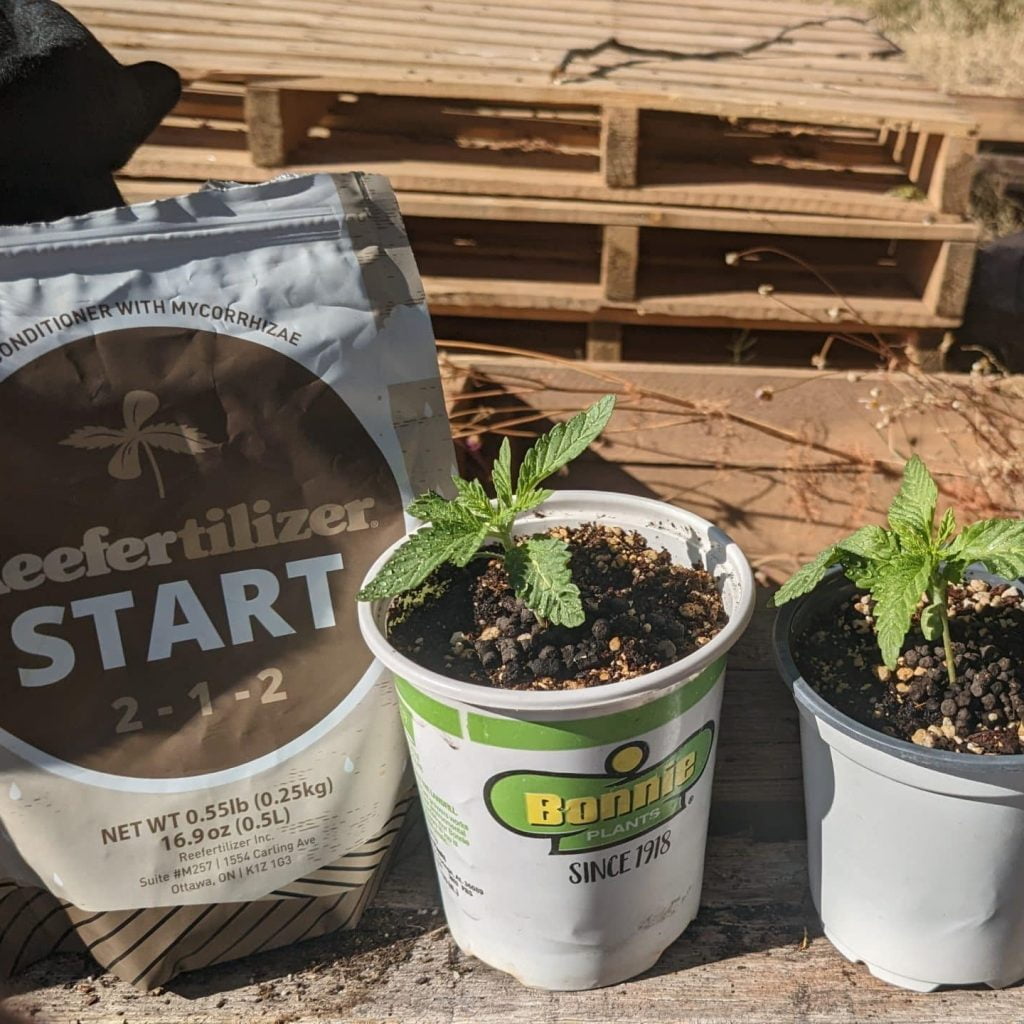
Transplanting is when you move a plant into a larger container of soil. Many autoflower growers will place their germinated seeds into a single pot the plant will grow to maturity in. The reasoning here is that the chance of causing stress to your plant during the process can slow down the growth of the plant.
In my personal opinion, if you’re really gentle you can reduce the effects of stress and gain the benefits that come from transplanting. I find that the risk of stress is higher when you’re working with small sprouts in peat pucks with small fragile roots.
When you start your plants in a small pot of soil or a solo cup you can let them get established before transplanting; they will bounce back much faster.
But, sometimes it’s just easier and safer to reduce the number of steps and avoid possible stress by skipping transplanting altogether. It up to you to experiment.
The mycorrhizae in Reefertilizer Start works best when in close contact with roots.
To make the most of mycorrhizae, it’s ideal to use it during transplanting. If you can’t transplant, you can still use Start as a top dressing, but it might be a bit tougher for the mycorrhizae to travel through the soil and reach the roots.
Start also has kelp meal, which provides nourishment to your plants and the helpful microbes in your soil. Whether you use it during transplanting or as a top dressing, it keeps everything well-fed and can be applied monthly.
Feeding Your Autoflowers Reefertilizer Cannabis Nutrients
Because autoflowers don’t grow as large and have a shorter veg and flowering period, they won’t need as much nutrients as their photoperiod cousins. For Reefertilizer we recommend going the ¾ strength solution compared to the regular feeding chart.
How long does it take to grow autoflowers?
The vegetative period for autoflowers is around 3 weeks.
Their flowering period will last around 8 weeks.
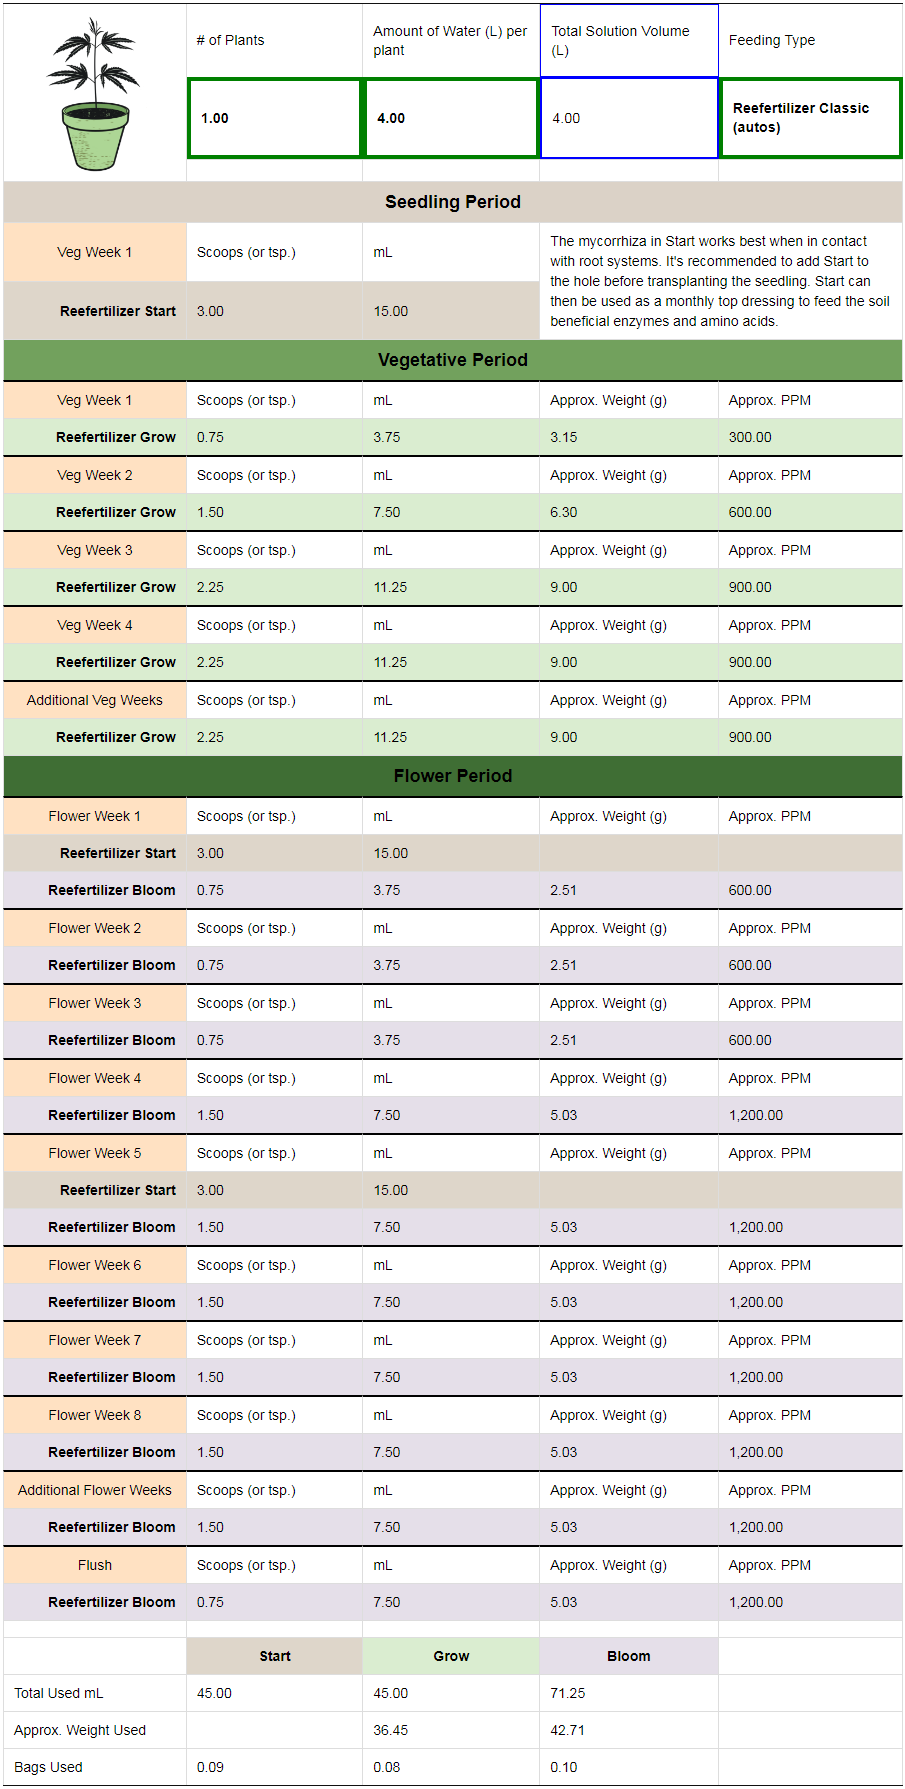
Feeding Schedule For Autoflowering Cannabis
We have a handy feeding calculator you can use to figure out how much to feed your plants. Keep in mind you will want to give each plant enough nutrient solution to saturate the soil around the plant. In most cases a plant in a 5 gallon planter will need 2-4 liters of water depending on the soil used and much space roots take up in the container.
To save you a bit of time we took a screenshot of the Reefertilizer autoflowering feeding schedule.
Let me explain some parts of that chart to help you understand what’s going on here and how to use this feeding calculator.
There are 3 options you can adjust; # of Plants, Amount of Water per Plant, and Feeding Type.
- This chart was set to 4L of solution per autoflower plant. You may need more or less solution, but the ratio stays the same.
- You can split the weekly dose and feed your plants twice a week.
- With a resevoir, you would want to set an approximate PPM to what’s on the chart.
Tips For Growing Cannabis Autoflowers With Reefertilizer
- Autoflowers grow fast: They take about 8-10 weeks from seed to harvest, which is quicker than other plants.
- Give them enough light: Autoflowers need 18-20 hours of light per day during the growing stage. LED lights work well and are energy-efficient.
- Check the pH levels: Keep the soil’s pH between 6.0 and 6.8 for healthy growth. Use a pH meter to measure it.
- Choose the right soil: Use good soil or coco-coir, which helps roots grow. Avoid heavy soils that don’t drain well.
- Follow a weekly guide: Understand the different stages of growth and what to do each week.
- Water properly: Don’t water too much or too little. Check the soil regularly and water when it feels dry on top.
- Add nutrients gradually: Start with a little bit of plant food and increase it slowly as the plants grow.
- Keep the temperature right: Make sure it’s not too hot or too cold. Aim for temperatures between 70-80°F (21-27°C).
- Watch out for problems: Look for signs of bugs or plant diseases. Take care of any issues right away.
- Enjoy growing: Growing autoflowers is fun! Learn from each experience and have fun watching your plants grow.
If you want to learn even more about growing good cannabis, we offer a free 40+ page guide full of images.
Now available on Amazon.
Sign up for our newsletter and download the digital copy today!
This guide will answer many questions about growing cannabis, like the following...
Selecting Seeds
Identify and Correct Problems
Maximize Yield
Much More...
Get a Chance to INSTANTLY WIN a Reefertilizer Nutrient Kit When You Sign Up.
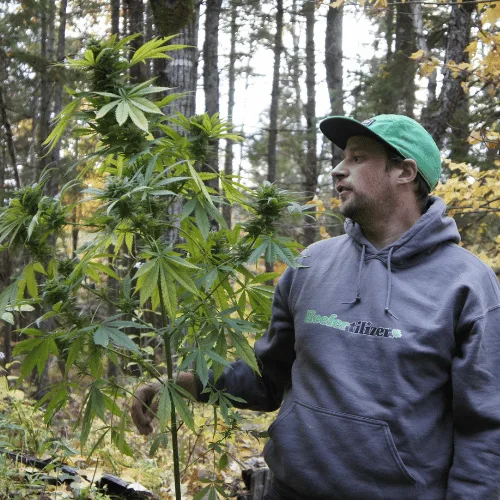
Mike Drouin is the co-founder of Reefertilizer. He’s an experienced craft cannabis grower and a writer of many articles regarding the process. Mike lives on Vancouver Island and enjoys cycling and camping and will sometimes combine the two.