Welcome to the world of growing cannabis, starting with the very first step – starting cannabis seeds. Successful germination is how you start seeds and get them ready to be planted. Germinating your seeds can help your chances in growing a successful plant.
In this guide, we’re going to walk you through top-notch methods to breathe life into your cannabis seeds. We’ll focus on water soaking, the paper towel technique, and direct soil planting – equipping you with the know-how to kick-start your grow with vigor. Follow our tips, and you’ll be on track to see those first sprouts in no time!
Learn to Grow Better Weed
Download our free guide to growing amazing cannabis at home.
Click Here For More Info
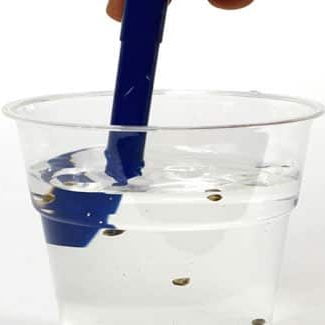
The Water Soaking Method
First up is the water soaking method. This approach is all about waking up your seeds using nothing more than plain old H2O. This method is a good choice for old seeds that might need to soften open before popping. Begin by grabbing a glass of room temperature water – make sure it’s about 68°F (20°C) for the best results. Drop your seeds gently into the glass. The water simulates a naturally moist environment that tells your seeds it’s go-time. Don’t leave your seeds in the water for longer than 24 hours or they will drown and ruin the seed.
Here’s how you do it:
- Fill a glass with room temperature water.
- Gently place your seeds into the water. If they float, don’t worry; they should sink after a few hours.
- Keep the glass somewhere warm, around 70°F (21°C), and away from direct sunlight.
- Let your seeds soak for 14-18 hours – but not much longer or they might drown.
- Remove the seeds and place them on a moist paper towel. Place this in a drak warm place and the seed should pop within 24 hours.
Pros: It’s a simple, low-effort method that can speed up germination.
Cons: There’s a risk of over-soaking seeds, leading to issues like rot.
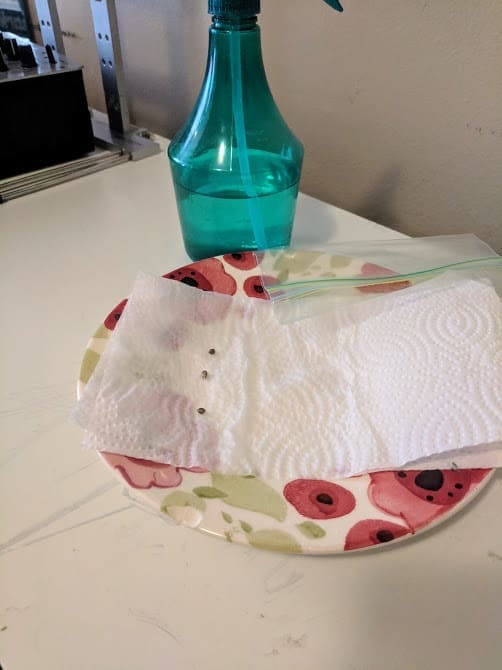
The Paper Towel Technique
Next is the paper towel method, beloved by many growers for its effectiveness and simplicity. All you need are paper towels, two plates, and your cannabis seeds. The goal here is to provide a snug, moisture-rich space for the seeds to unfold. This is my favourite method because it’s just so simple.
Here’s the step-by-step:
- Wet two paper towels. They should be damp but not dripping.
- Place one paper towel flat on a plate.
- Space your seeds on the towel, leaving some room between each.
- Cover with the second paper towel and place the second plate upside down on top to create a moisture dome.
- Keep the setup somewhere warm – on top of the fridge is a good spot but seedling heat mats are a thing.
- Check daily to ensure the towels stay moist but not soggy – and watch for sprouts!
Pros: You can easily check on your seeds, and it’s a gentle transition to soil.
Cons: There’s a delicate balance – too wet, and your seeds may drown; too dry, and they won’t sprout.
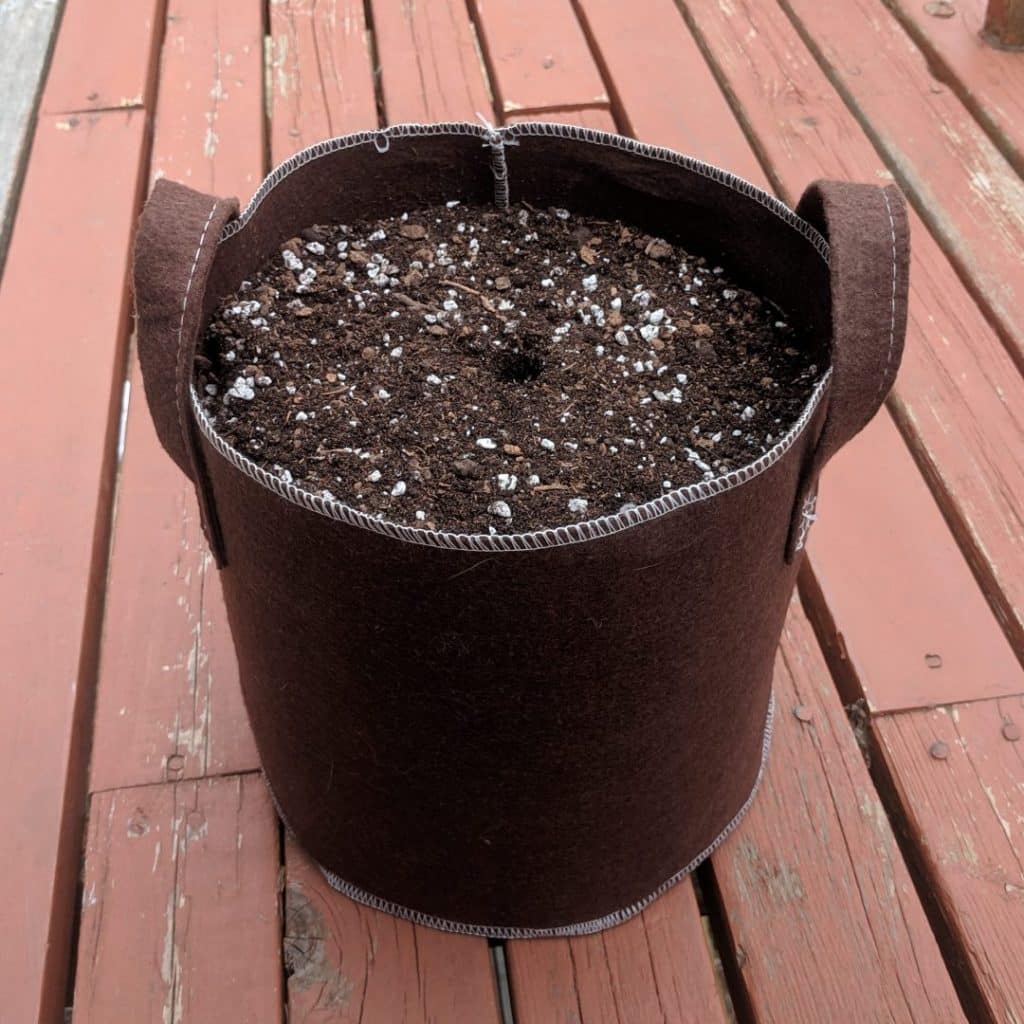
Direct Soil Planting
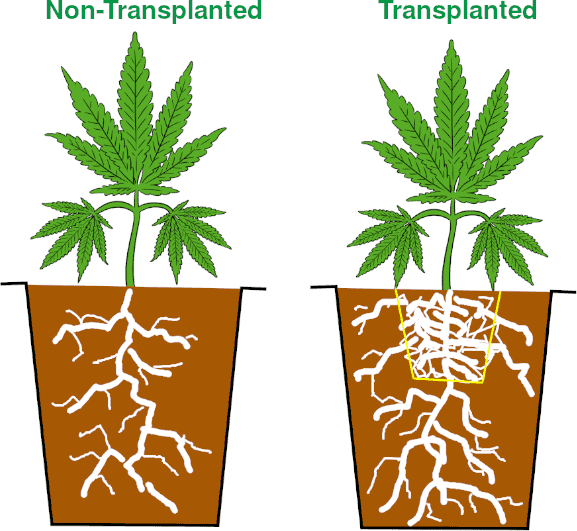
When it comes to germinating your cannabis seeds, Mother Nature’s has been doing a great job for millions of years. Planting seeds directly into the soil is a appealing method for traditional types. This method can also reduce the stress of transplanting young sprouts which might be a concern with autoflower growers. Transplanting has its benefits so starting seeds in a small amount of soil first isn’t a bad idea either.
Here’s the straightforward process:
- Make sure your soil is light and will allow for easy root growth; pre-moistening it just a little bit can create the perfect environment. Seed starter soil is a thing too.
- Plant your seeds about one knuckle deep, or 0.5-1 inch (1.3 cm – 2.5 cm) into the soil.
- Place your pots in a warm area, ideally around or slightly warmer than 70°F (21°C), to encourage germination.
- Keep the soil moist but be cautious not to overwater, as it can cause the seeds to drown.
Pros: This method is stress-free for the plants, and there’s no shock from changing environments.
Cons: You can’t see the seeds sprout, so it’s hard to know if germination has occurred without disturbance.
Germination Troubleshooting: Common Issues and Solutions
Sometimes, despite your best efforts, seeds don’t germinate as expected. Let’s address common hiccups:
Seeds don’t crack open: Ensure they are in a warm environment and that the medium, whether it’s soil or a paper towel, remains moist.
Mold or fungus on seeds: This is usually due to a too-wet environment. Let your seeds have access to fresh air and use clean water to prevent pathogens.
Seedlings look weak and stretched out: They’re likely not receiving enough light. Position them closer to your light source but monitor to ensure it’s not too hot.
Seedlings fall over and die (damping off): Overwatering can be a culprit. Water sparingly and make sure your soil or starter cube is well-draining.
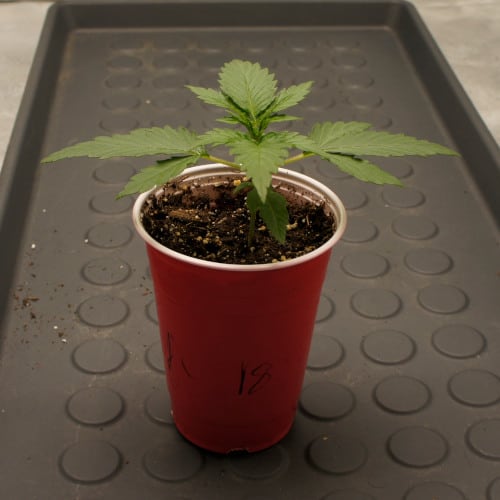
After Germination: What Do I Do?
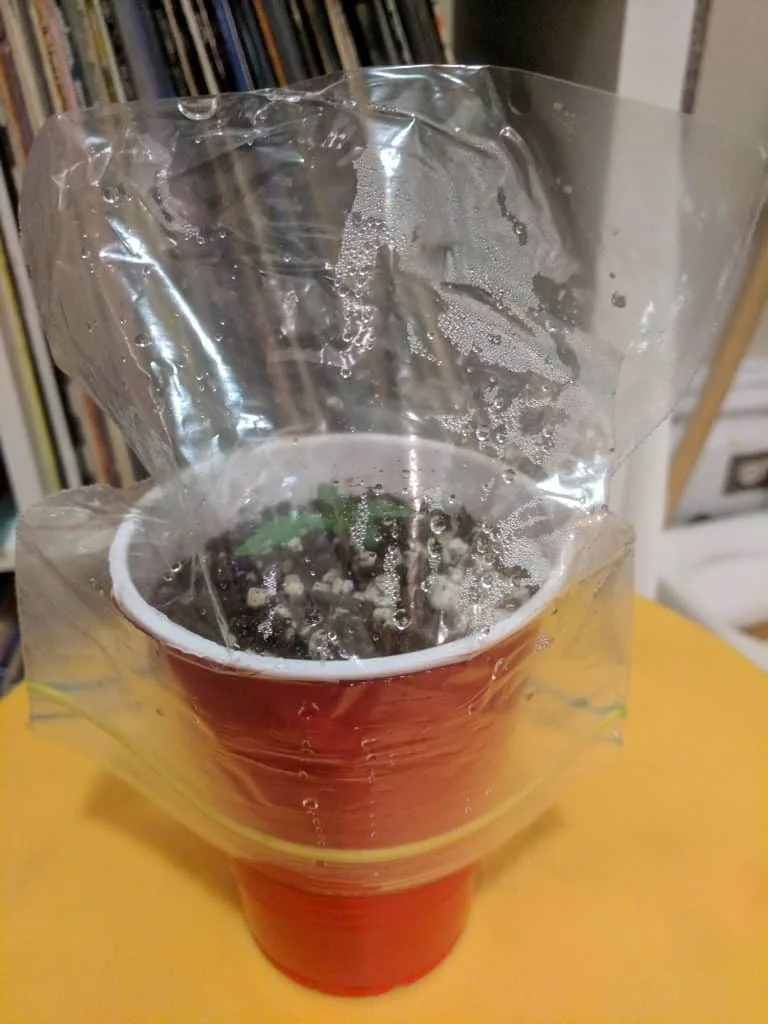
Upon seeing those precious tap roots crack out of the seed, the journey has just begun. As soon as the root is visible the seed should be planted in soil. Just follow the same methods as direct planting above. The most important thing here is to be very gentle and careful not to damage the fragile root.
Try and place the germinated seed “root down”. The tap root will push down into the soil to search for water while the baby leaves (cotyledons) break the surface of soil to get light for photosynthesis.
Post-germination, your focus shifts to providing the best care for your tender young plants.
Ensure seedlings have plenty of light – they need about 18 hours of light each day to thrive.
Begin watering cautiously – too much water can hinder your seedlings’ growth.
After a few weeks, you can introduce a gentle fertilizer like Grow to support their development.
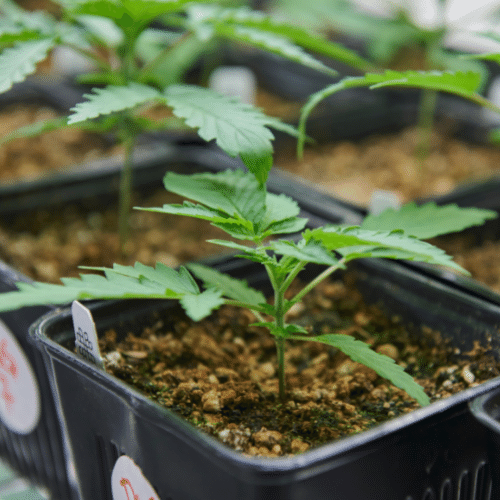
Slow-Growing Cannabis Seedlings: Should You Add Fertilizer?
f your cannabis seedlings are growing slower than expected, it’s natural to consider boosting their growth with fertilizer. However, during the initial stages of a cannabis plant’s life, it’s crucial to be cautious with nutrients. Seedlings store their own food reserves to support early growth and usually don’t require additional fertilizer right away.
Adding fertilizer too early can harm delicate young roots and stall growth rather than encourage it. If your plants are in pre-fertilized potting mix, they likely have enough nutrients for the first few weeks. If they’re in a neutral medium, wait until your seedlings have developed a few sets of true leaves – this indicates they can handle a light feeding with a diluted fertilizer solution.
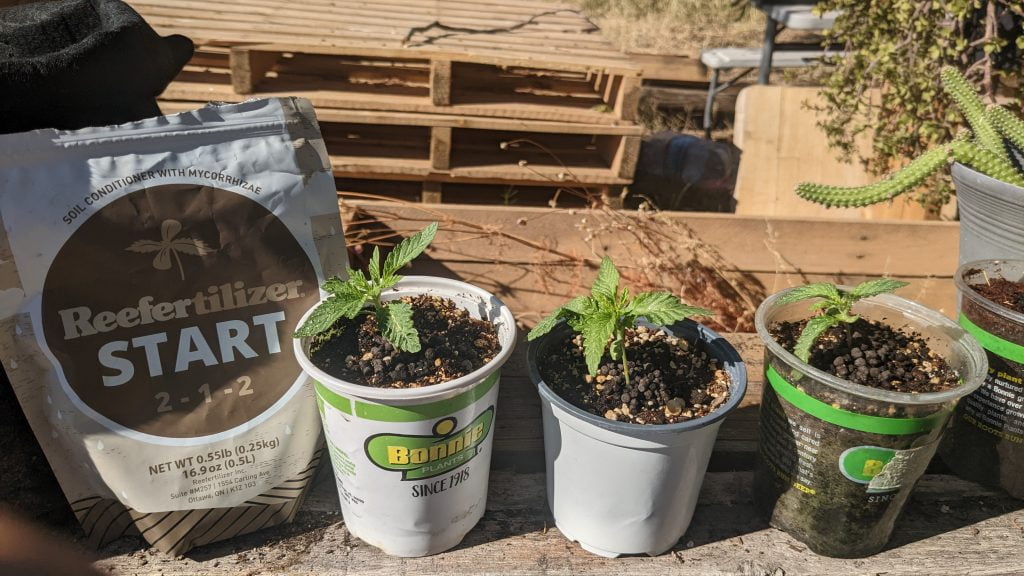
Reefertilizer Start is a specially blended mix of organic sea kelp and mycorrhizae that promotes robust root development and provides essential nutrients to support the early stages of your cannabis plant’s growth, ensuring a strong and healthy start for your seedlings.
Remember, slow growth can be remedied by ensuring your plants have the right conditions – consistent warmth, proper lighting, and the right moisture level are key. Adjust these factors first before reaching for the fertilizer.
If you want to learn even more about growing good cannabis, we offer a free 40+ page guide full of images.
Now available on Amazon.
Sign up for our newsletter and download the digital copy today!
This guide will answer many questions about growing cannabis, like the following...
Selecting Seeds
Identify and Correct Problems
Maximize Yield
Much More...
Get a Chance to INSTANTLY WIN a Reefertilizer Nutrient Kit When You Sign Up.
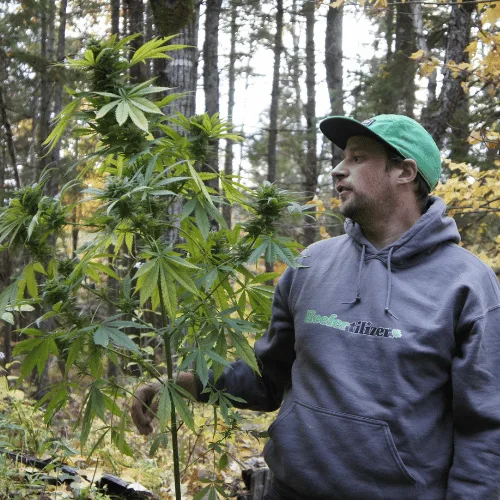
Mike Drouin is the co-founder of Reefertilizer. He’s an experienced craft cannabis grower and a writer of many articles regarding the process. Mike lives on Vancouver Island and enjoys cycling and camping and will sometimes combine the two.